Home » After Installing New Brake Pads, Don’t Get Careless: 3 Things You Must Do
After Installing New Brake Pads, Don’t Get Careless: 3 Things You Must Do
Summary:
After pad replacement, you need more than a test drive. Lightly chamfer and edge the pad to match existing rotor grooves, verify brake fluid level and condition, and bed the pads with controlled stops to build a stable transfer layer. Avoid hard, sustained braking in the first 300–500 km. Regular inspections of hardware, slide pins, and rotor surface keep noise down and braking consistent.
After Installing New Brake Pads, Don’t Get Careless: 3 Essentials
New pads are a starting point, not the end. To keep the braking system quiet, powerful, and reliable, complete these three essentials—then maintain good habits.
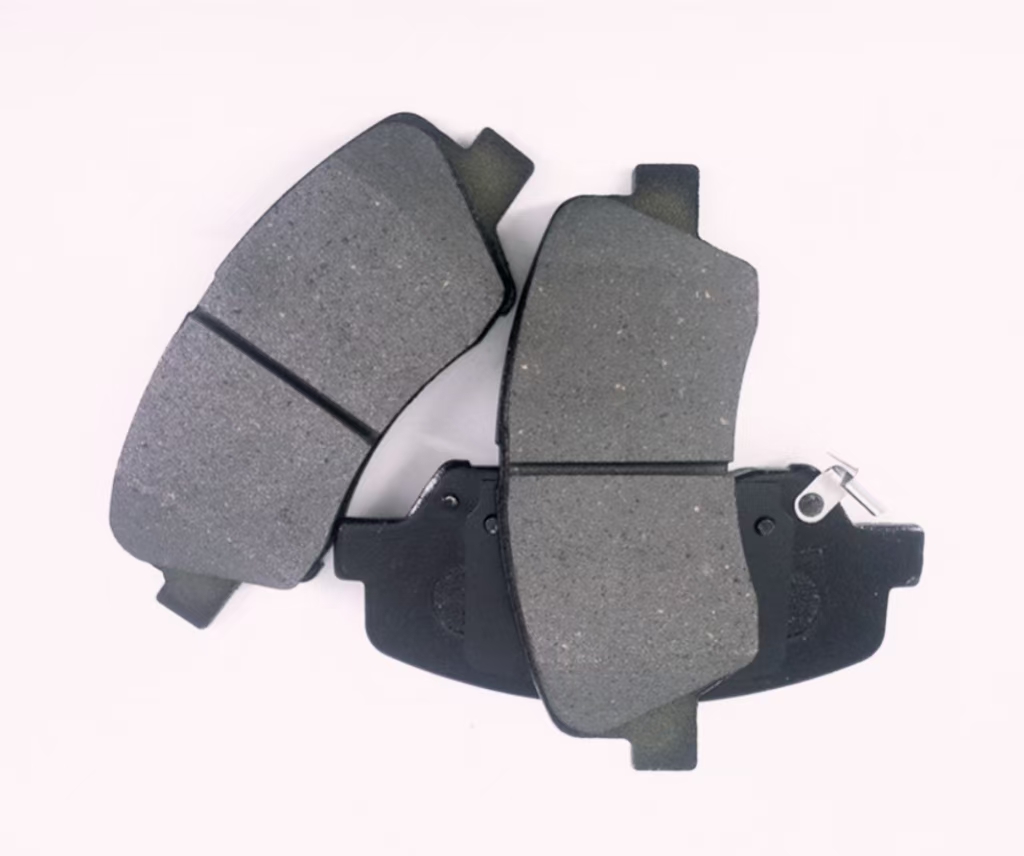
1) Chamfer & Edge the Pads, Then Avoid Early “Big-Foot” Braking
Why: Old pads and rotors develop complementary wear patterns. Fresh pads pressed against a rotor with existing grooves may not contact evenly, which can cause squeal, hotspots, and longer stopping distance at first.
What to do:
Ensure pads have proper leading/trailing chamfers.
Lightly edge (break) the perimeter of the friction surface so the new pad settles smoothly into the rotor’s existing topography.
Verify shims and anti-rattle hardware are seated correctly; lubricate slide pins/abutments with high-temp brake grease.
Driving tip: For the first 300–500 km, avoid panic stops and long, light dragging. Use progressive pedal pressure so contact area increases evenly.
2) Check Brake Fluid Level—and Condition
Level: After pushing caliper pistons back, reservoir levels can change. Set the fluid between MIN and MAX with the correct spec (DOT 3/4/5.1 as required).
Condition: Dark/ cloudy fluid → flush. Moisture lowers boiling point and invites fade and soft pedal.
Leaks/air: If pedal is spongy or improves after pumping, bleed the system and inspect for leaks or swollen hoses.
3) Bed (Burnish) the Pads Properly
Goal: Create a uniform transfer layer on the rotor for stable friction (μ), less noise, and longer life.
Typical bedding routine (follow pad maker’s guidance):
8–10 moderate decelerations from ~60→20 km/h with cool-down in between (no full stop holds).
3–4 firm decelerations from ~80→30 km/h, again with airflow cool-down.
Park to air-cool; avoid keeping the pedal pressed on hot rotors.
Result: Reduced glazing, less NVH, and consistent pedal feel.
Extra Good Habits (Save Time, Money, and Noise)
Inspect pad thickness/evenness at each tire rotation (~10–12k km).
Check rotor runout/thickness variation; resurface/replace if out of spec.
Keep tire pressure correct and wheels torqued to spec to prevent rotor distortion.
After rain or washing, a few light stops will clear moisture film and surface rust.
Fluid at correct level/spec; no leaks/air; pedal firm ✔
Bedding drive completed; no long pedal holds when hot ✔
No abnormal noise/pull/shake on road test ✔
FAQs
Q1: Do I really need to chamfer and edge new pads? Yes. Proper chamfers and a light edge break help the pad “match” the existing rotor surface, reducing early noise and improving contact.
Q2: Why avoid hard stops right away? Uneven, high-energy stops can hot-spot new pads and glaze rotors before a stable transfer layer forms.
Q3: My fluid is near MAX after pad change—is that OK? Slightly below MAX is ideal. If it’s at or above MAX, adjust. Always use the manufacturer-specified fluid.
Q4: How soon should I recheck the brakes? After 100–200 km, verify pad seating, hardware torque, fluid level, and listen for abnormal noises.
Want quiet, reliable braking from day one? Contact Baiyun Brake for duty-matched pad compounds, bedding guidance, and fitment sheets(OEM/ODM · ECE R90 · TÜV).